During the last period I’ve learned a lot about boards that can be used in Embedded Projects (Arduino, Raspberry Pi, BeagleBone Black …).
The last one has an interesting feature that has caught my attention.
The possibility to install a web ide that can be accessed from other devices.
The question
Can I do that with the Raspberry Pi that I already own?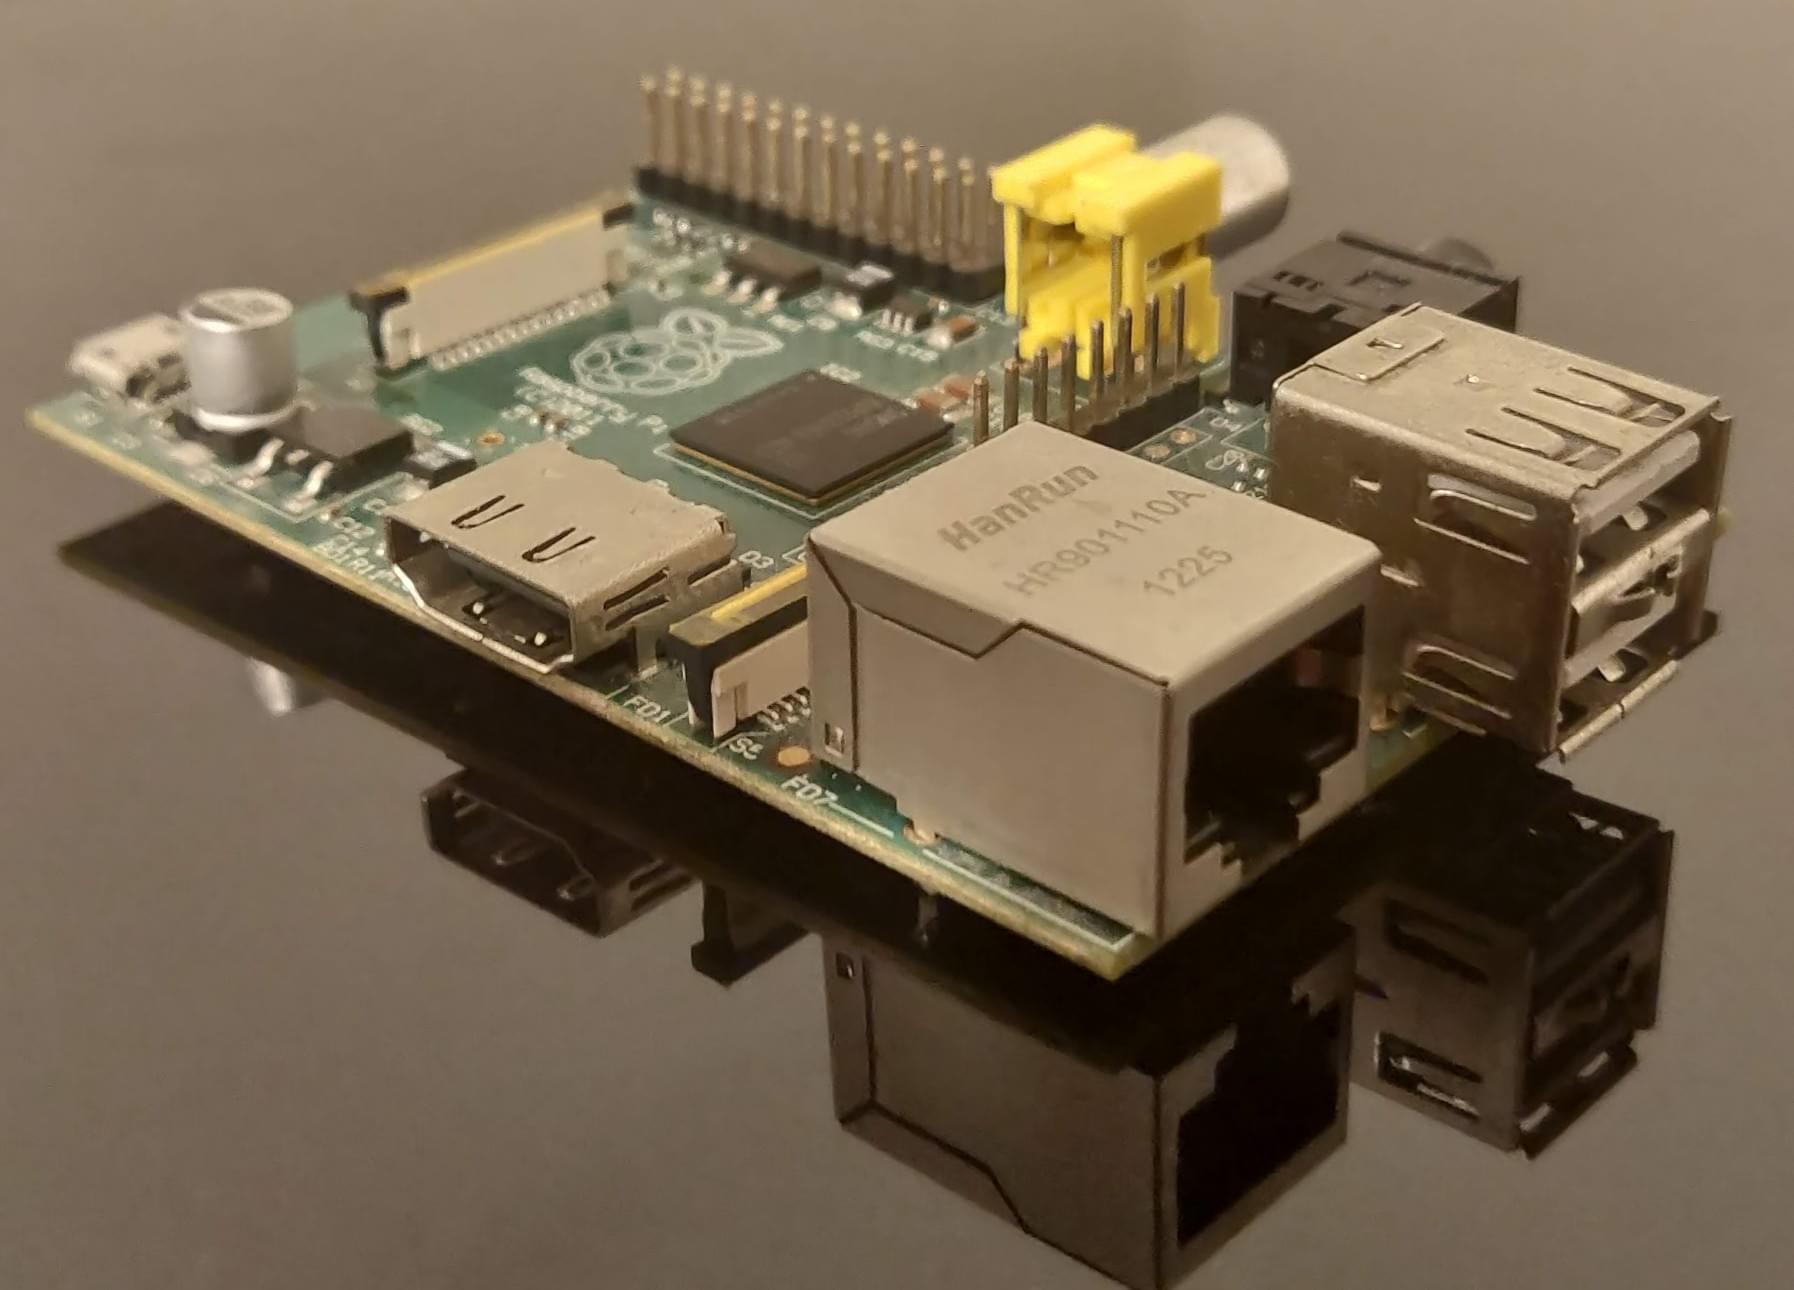
The Solution
First of all we need an ide, I’ve chosen Cloud9 that is the open source project on which is based c9.io.
Cloud9 is developed using various technologies, the most important is [Node.js][url-nodejs-website].
I’ve found a lot of tutorial about installing Cloud9 on Raspberry Pi, but due to the fast evolving situation I’ve found a lot o problems during the process.
For this reason I’ve decided to write this tutorial to avoid other people to waste time.
First Step: install the OS on the SD
I’ve decided to use Debian Wheezy given its stability and diffusion.
You can find it (With installation instructions) at raspberrypi.org
Second Step: install Node.js
I was tempted to use the fast and recent version 0.10.x or the one from the repository 0.6.x, but I’ve chosen to use 0.8.17 for a simple reason, using too old or too new versions of Node.js Cloud9 does not install correctly, at least I’ve failed in doing so (if you have other experiences let me know).
1 | sudo apt-get update && sudo apt-get -y upgrade |
This commands do update the system, they install necessary prerequisites, they download Node.js e and they install it in the folder /usr/local
Third Step: download Cloud9
For this step we use git to download the latest sources from github.
1 | git clone https://github.com/ajaxorg/cloud9.git cloud9 |
Fourth Step: install node-libxml
The standard version of node-libxml is not compatible with Raspberry Pi.
For this reason we download the sources and adapt them in order to compile correctly.
1 | cd cloud9 && mkdir node_modules && cd node_modules |
At the end of this step the nano editor will show up.
It is necessary to delete the configuration -msse2 from the file (you can find it in a couple of well visible places).
To save it CTRL+X followed by Y
We will now install node-libxml globally (-g) (it requires from 15 to 20 minutes)
1 | sudo npm install -g |
Fifth Step: install Cloud9
During this step we will use npm.
Personal suggestion, before start the installation make a copy of the folder libxml just in case something goes wrong during the process (I’ve had problems 2 times, while the third it worked like a charm).
Run:
1 | cd ~/cloud9 |
Fifth Step bis: if something goes wrong
If something goes wrong clean the folder node_modules and copy libxml in place.
Now try again:
1 | sudo rm -r ./node_modeles/* |
Sixth Step: fix vfs-local
Stopping here, you will encounter a problem.
A continuos message which states File already exists.
To avoid this, we will revert vfs-local back to a previous version.
1 | rm -r ./node_modules/vfs-local |
The end of our journey
If karma has helped you (if you have trust in karma), if some saints are watching you (if you are a religious person), or just if you are lucky you will have on your Raspberry Pi a working installation of Cloud9.
You just need to know how to start it:
1 | bin/cloud9.sh -l 0.0.0.0 -w ~/git/ |
Replace ~/git with the folder you want to use as workspace, or delete -w ~/git allowing Cloud9 to move around in the entire File System.
To access Cloud9 just open your browser (is better Chrome, Chromium or Firefox) and surf to the address http://<raspberry pi ip>:3131/
Here are the links to a couple of tutorial I’ve followed to build mine:
Stack Overflow: Cloud9 Tries To Recreate Settings File
I hope this guide has helped you, do not hesitate to post questions, clarification or just to say hello.
Carlo Bernashina
2013-08-18